DIY Pond Filter Ideas & Tutorials


Fluval Carbon Filter Media for Aquariums, Premium Bituminous Carbon Inserts, 100-gram Nylon Bags, 3-Pack, A1440
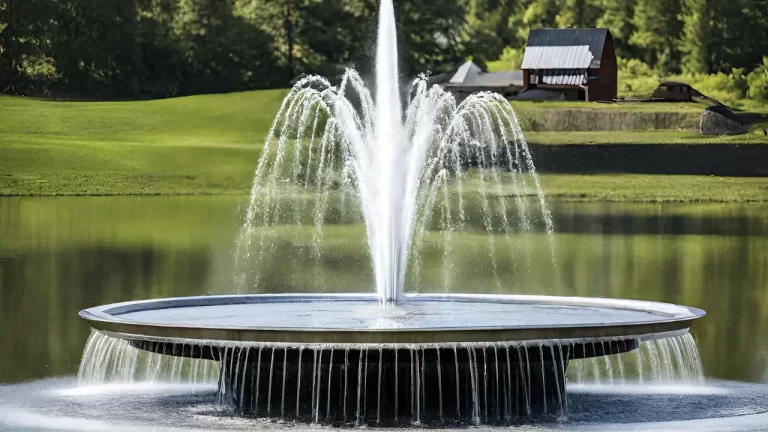
28% OffThis is the era of empowered people. You no longer need to spend hundreds of bucks to buy a simple pond filter. Especially when you can make a DIY pond pump just as easily, whether its a DIY submersible pond filter or a DIY pond filter with backwash.Not only will you be able to save a lot, but you would have absolute control over the specification that you want including the size that your filter should be, the filter media is used in it, and everything else that you may not get altogether in a ready-to-buy filter. Are you ready to take complete control over your pond filter? Great! Here are five different DIY pond filter ideas to get you started.
DIY Aquarium Filter for Fish Pond – Gravel & Sand
It is a barrel filter that uses grains of gravel and sand to filter the water. This is very effective for larger ponds. Make a note that this is not a bio-filter, however, you can run water from this then a bio-filter before it goes back in the pond. To extract effective use out of this pond filter, it is best to not go over the pond pump of about 2500 GPH. If you do, it risks fluidizing the sand and gravel grains and hence breaking the mechanism. Things You Need
- Drum with a capacity of 55 Gallons
- 2 bulkhead fittings of 3 inches
- Shower drain of 2 inches
- 6 ft. ABS pipes with 1.5 inches diameter
- 90 degree and 3-way fitting (for ABS Pipes)
- End caps with 1.5 inches diameter
- 4 bricks
- Gravel (pea, ½ inches, and ¾ inches)
Instructions: 1. To be able to cut the lid cut a few holes in it so that the blade can easily slice it off. Now cut the lid carefully. 2. With a 3/8 drill bit drill holes into the lid every square inch. 3. Now drill two holes on the opposite side of the drum 8 inches away from the top using a 3 inches hole saw. 4. Clean the holes using the rotatory tool and sand it a bit. 5. Insert the bulkhead keeping the male end towards the inside and female end on the outside. 6. Before screwing the male and females ends to make it waterproof make sure you use silicone caulk on both ends. 7. Repeat steps 5 and 6 with the other bulkhead. 8. On the bottom of the drum, add the shower drain by drilling a 3-inch hole. Use silicone caulk around the shower drain as well. 9. To stop the water from flowing back to the pond make sure that you use a one-way check valve at the shower drain. 10. Using the 6 ft. ABS pipe with the 90 degrees and 3-way fittings now make an air manifold. At one end attach the 90-degree fitting and then attach the 3-way fitting to the 90-degree fitting. 11. Cut your 6 ft. pipe and attach them on to the 3-way fitting in a way that they reach the edges. 12. Attach end caps to the ends of the pipes. Make sure to glue the joints and the caps firmly. 13. Drill holes in the three pipes with a distance of an inch. 14. With the 3-way fitting towards the end, place the manifold inside the drum and place 4 bricks around the pipe. 15. Now place the lid you holed inside the drum lying flat. 16. In the exact order of ¾”, ½”, and pea gravel, add the layers inside the drum. Add a layer of large sand over it. 17. Place the drum on a block to be able to hook it to the pump. 18. You can send the water directly to the pond or through a bio-filter. [vc_video link=”https://youtu.be/LUMsC_tI2YE”]
DIY Pond Filter with 5 Gallon Bucket
If you are looking for a rather quick fix then this DIY pond filter is the one you should try. It is a very easy and quick fix. It is best suited to work with the 300-400 GPH flow rate water pump. Things You Need:
- Bucked with a Lid, 5 Gallons
- 2 x large bulkheads, 1”+
- PVC pipe
- Bio balls (or a DIY pond filter media of your choosing)
- Anti-clog air stone
- Airline
- Jhua Water Pump or a similar water pump.
Instructions
- Drill a hole the size of your bulkhead at the bottom of the bucket. This hole needs to be slightly off-center and more towards one of the sides.
- Now attach the bulkhead to this hole.
- Drill the hole the same size in the center of the lid and install the bulkhead into it keep the flat side upwards.
- Now cut the PVC pipe just an inch shorter than the height of the bucket and attach it to the bulkhead placed in the lid.
- Cut another piece of the PVC pipe making it 3” shorter than the other one and attach it to the bottom bulkhead.
- Connect the pump to the lid of the bucket.
- Now fill the bucket with the filter media of your choice.
- Drill a hole in the lid big enough to let the airline pass through. This will help create a current in the filter.
- Attach the air stones to the end inside the bucket and place it over the pond.
DIY Biological Pond Filter – Using a Planter
There are people that use fountain sprays of different patterns to add beauty to their ponds, and then there are people who appreciate a more authentic sense of beauty like a planter. This DIY pond pump not only adds beauty to your pond but is extremely cost-effective and only takes about one hour to be put together. It uses both mechanical and biological media to assure effective filtering of water. Things You Need:
- A decorative planter (a plain one will also do just fine)
- 2 x bulkheads
- PVC pipe – longer than the planter
- 3 x PVC Elbow Fittings
- PVC T Fittings
- SCH 40 adapter
- Hose
- 2 x Hose Clamps
- Basket – one that can fit into the planter
- Loofa
- Scrubbers
- Filter media
- Pebbles or lava rocks
Instructions:
- Cut a hole in the side of the planter the size of your bulkheads, close to the top. Make sure that the bulkhead fits in fine.
- Install the bulkhead into the hole you cut. Install a bulkhead on the opposite side should the filter starts overflowing.
- Install the other bulkhead where the water will enter the planter at the top using the same steps as the first one.
- Cut the PVC pipes into the following parts: 1 x 3” shorter than planter height, 1x size of the radius of the planter, and 2 x half the length of the radius.
- Connect the elbow connector to the larger PVC block and the one the size of the radius.
- Now connect the SCH 40 adapter to the radius-sized pipe.
- Use the T connector to attach the equal-sized parts of the pipe. And at the open ends connect an elbow that points in the opposite direction.
- Connect the open side of the T to the larger PVC pipe.
- Attach the PVC pipe with SCH 40 to the planter through the bulkhead and tighten the other side.
- Slit the basket around the edges so it can slide down easily.
- Insert the basket into the planter facing upside-down way to the bottom.
- Add layers of loofa, then scrubbers, and then the filter media you chose, ideally bio balls.
- Add some layers of sponges.
- And then add the rocks on the top.
- Connect the hose to the SCH 40 adapter and screw it in the bulkhead. Tighten it with the hose clamp.
- Connect the hose to your pump and place it near the pond.
- Watch the water drop like a waterfall.